Sunday 22 January 2017

Hygge - Celebrating the Cold, the Bleak and the Blissful

Hygge, the Danish concept of cosiness in winter seems to have become mainstream in the UK. Books, blogs, magazines, knitting and clothing catalogues are all exhibiting their hyggelig credentials. I really like the philosophy of hygge because rather than simply promoting pulling a metaphorical duvet over your head until the dark, cold winter days are gone (attractive although that sometimes seems, on yet another cold, dark, January morning), its essence actually rests on a subtler message : achieving a healthy balance between discomfort and comfort, bleakness and bliss, activity and rest.

Hygge, it seems, is not just about toasting your toes in hand-knitted socks before a log fire with your hands around a warm mug of frothy, hot chocolate in the light of an obligatory candle. That's only half of it. The toasting your toes bit is only properly hyggelig when you've spent some time outside, walking in the countryside, chopping logs or gardening, (or may be skiiing, if you live in Scandinavia).


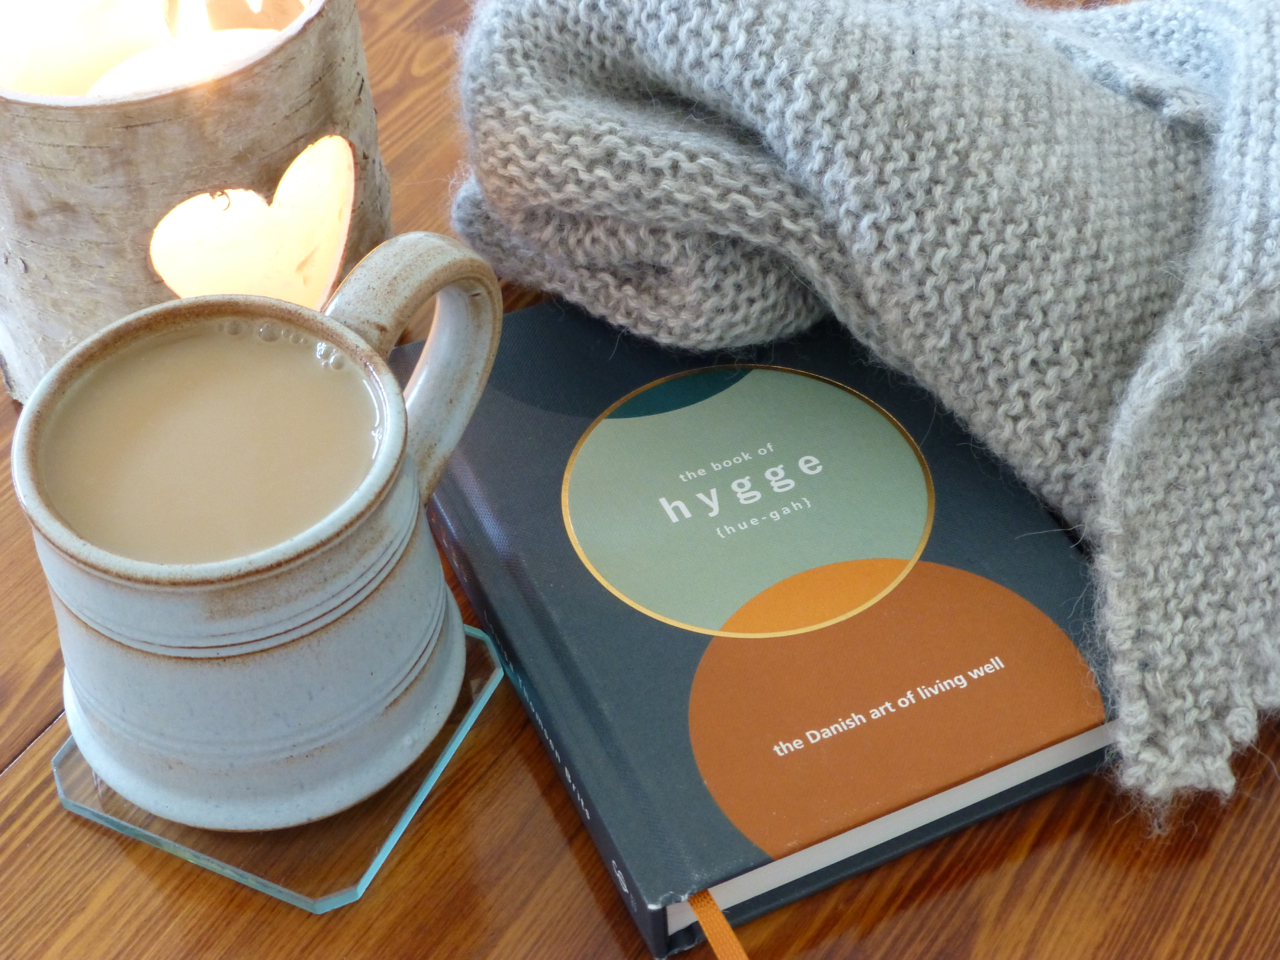
It encourages us to get out there in the cold and be active outside, as well as to retreat inside and hunker down with a good book, a steaming mug of tea (and a candle).


The combination is a good recipe for these early months of the year, post-Christmas when it still feels such a long way from warmer, lighter days. January blues are a common phenomenon. I see that the third Monday in January has even acquired Official Depressed Status  and is now being referred to as Blue Monday. Don't worry - we've past it; it was last Monday, not tomorrow!


The other reason I like the philosophy of hygge is that although, like any of these lifestyle recommendations, you can spend a fair bit of money equipping yourself with hyggelig trappings, it is essentially a homely philosophy that makes the most of ordinary things, ordinary contexts, ordinary days and you don't have to spend much at all to bring out the hygge in your life, despite some of the marketing hype that might persuade you otherwise.


Yes, it's cold outside, so, yes, you do need warm clothing and proper footwear if you're going to be outside for long. But they don't have to be new this year nor do they all have to match this season's colour-way.


Yes, it's nice to come in to a warm house after being out but you don't need to install an open fire or a wood stove to be cosy.

Yes, to earn its proper hygge status, what's on the table is ideally homemade, but it doesn't have to be complicated, in fact, for the Danes, it seems, if it's too complicated, it's not hygge. Hurray for simple!

Hygge seems to be as much about doing as spectating - and that appeals to me.

I've been trying to beat the January blues with the active part of hygge, aiming to walk early, every morning for 45 minutes or so and to get out and about at other times too. Nothing chills me down faster than working, hunched for hours over a computer screen, I find, so this, in part, is a functional strategy to keep my circulation active. But it's more than that - I just really love being out and being more active, even when it is bone-chillingly cold and to begin with, not remotely inviting.


There's a very inspiring article from a couple of years back by Alys Fowler, of Gardener's Question Time fame, on the joys of being outside in winter. You can read it here. It buoyed me up just to read it. So if you feel you too need a bit of encouragement to get your boots on, have a look.


But there's no doubt about it, that being outside in sub-zero temperatures (-8 C in Oxfordshire this morning) means something piping hot and inviting on the table when it comes to mealtimes is definitely de rigueur. Soup has always been prominent in my winter cooking repertoire - there's just something so comforting about a bowl of hot homemade soup and this year I've been making it even more than usual.


Here is one that has become my winter favourite this year. It makes a perfect lunch after a winter walk (you can leave the vegetables to roast while you're out) and is cheap and cheerful to boot. Here in the UK, fresh tomatoes are often a bit disappointing, especially in winter. I devised this to try and emulate that intense, tomato flavour you get far more often in the Mediterranean and I am pleased to report it was a blinding success. Sorry, that doesn't sound very modest, does it? But it was! It's a variation on a number of similar roast tomato soup recipes I found and then tweaked to my satisfaction. You may well have one that works equally well but here is my version, for what it's worth.

Roasted Tomato Soup - serves 4-6 


What you need
c 2 kg large tomatoes - plum ones are good but not essential. Last time I used three 500g packs and a small bowl of leftover smaller ones that were beginning to look a bit sad so probably a bit less than 2 kg in total.
2 red peppers
1 onion
good, green olive oil
salt and black pepper
c 1.5 litres homemade vegetable stock or water - I have got into making my own vegetable stock as a regular thing - (very quick and easy in a pressure cooker) but plain water with some salt will be fine if stock-making isn't your thing. If using a commercial, powdered stock, make it up on the dilute side, otherwise it will overpower the fresh intensity of the tomato hit in this soup.

What you do
Preheat the oven to 190 C. Wash the tomatoes and peppers. Cut the tomatoes into halves or quarters (depending on their size).
Halve the peppers, remove the stalks and inner cores with their seeds. Chop the flesh. Peel the onion and chop into chunks.
Drizzle some olive oil over the base of a large heavy cast iron casserole with a lid. Pile in the vegetables. Season with a bit of salt and pepper and another good drizzle of olive oil. Not too much oil - or the finished soup will be heavy.
Clap the lid on and put the casserole into the oven for a couple of hours. Remove the lid and roast uncovered for another half hour to 45 minutes to evaporate off some of the juices. Remove from the oven and allow to cool a bit. The vegetables should be meltingly soft and the juices concentrated but still present. This is what it should look like by the end of roasting:


Tip the vegetables and their juices into a mouli* or food mill over a pan and crank the handle. Warning - I may be peculiar here, but I find this Seriously Fun!


Thin the resulting intense, thick, red, purée with c 1.5 litres of stock (or water) - the exact amount of stock you need will depend on how thick your tomato purée is and how thick you want the soup to be. Reheat on the hob.
Eat and survey the frost that remains outside, even though it's midday, with satisfaction!
*If you don't have a mouli or food mill, obviously you can blitz the soup in a liquidiser, food processor or use a stick blender. The snag with these other methods is that you will really then need to sieve the purée to remove the bits of skin and remaining seeds, which is a bit of a faff. If you make soup or fruit purée a lot, I recommend buying a food mill. I didn't have one for ages, bought one some months back and have used it more than I would ever have believed.


Mine is a stainless steel one, as you can see, and it comes with two interchangeable milling discs, a coarse one and a finer one, which is what I generally use. It was quite expensive but it's excellent; I'd thoroughly recommend it, but you can buy much cheaper plastic ones, if you're more of an intermittent soup-maker. Amazon have a range here, if you want to browse some options.

The wonderful thing about the mouli is that it results in so little waste which, from both a nutritional and an economical point of view, is rather good news. See what I mean? This is all the debris that was left:


Cold, after being outside? You bet!
Piping hot soup, fresh off the hob, will do nicely, thank you very much!


E x

PS Thank you for your kind comments on my previous post welcoming me back after my unexpectedly long blogging absence - I appreciate them very much.


Tuesday 17 January 2017

Ragged Lavender Hearts

I know it's a long time since Mrs Tittlemouse got her act together and posted anything but here I am, with a little creative idea that I thought you might like, if you're still reading, that is, and I can well understand it, if you have moved on to less stagnant waters over the last six months or so! Anyway, here it is. A little tutorial for making frugal, ragged, lavender hearts like this one.


The other day my favourite pair of pyjamas - a brushed cotton Cath Kidston pair, duck-egg blue, spotted with white polka dots - finally gave up the ghost. Recent launderings had flagged up the fact that the main fabric had faded quite a bit and got very thin in places but I crossed my fingers and hoped it would continue to hold out. Sadly, it didn't. I considered mending the large rent that had appeared all of a sudden "and without any invitation" (to quote the original Mrs Tittlemouse) by my right shoulder but regretfully decided the fabric simply wasn't strong enough to take a patch that wouldn't quickly tear away.

The main duck-egg-blue-spotted-with-white-polka-dots fabric of the pyjamas had been delightfully paired with a contrasting duck-egg blue and rose-sprigged print to make the collar, facings and placket on the jacket and the small back pocket on the trousers as well as trimming the sleeve and trouser cuffs. I really wanted to salvage that pretty, rose-sprigged fabric but close inspection revealed there was very little of it to play with. What could I make?

After humming and hawing over various possibilities, I opted for something very small and simple but surprisingly satisfactory - ragged, lavender-filled hearts. I pass it on, in case you too have a pretty brushed cotton nightdress or pair of pyjamas that have seen better days that you can't bear to part with, though, of course, there's nothing to stop you using new fabric, if all your winter nightwear is in good shape!

What you do:
1 Draw out a simple heart-shaped template. Mine is about 12 cm / 4.5" tall and 12 cm / 4.5" wide. Too small and it will be too fiddly to sew and stuff; too large and you'll need more fabric and a lot of lavender to fill it. If you want to use the pattern I drew, I have managed, (I hope), to upload it as a pdf here. Make sure you print it out at 100% scale.

2 Press your fabric pieces and if, like me, you are cutting up worn out clothing, choose a less worn part of the fabric, at least for the outer two of the four hearts you will need for each ragged lavender heart. If again, like me, you are after a fabric only used in very small quantity on the garment, look carefully at where it's deployed to see what you can salvage. Carefully unpick any stitching and lay out what you have. You may need, as I did, to stitch smaller strips together to give you enough to cut from. Just match and stitch together as required, pressing open the seams before laying out for cutting out your hearts.


3 Cut out four hearts for each lavender bag. Two of these can be cut from less good portions of the fabric as they won't be seen. I cut my inner hearts from the rather more plentiful supply of faded main fabric, saving the rose-sprigged ones for the outer hearts. I was quite chuffed to manage to realise three ragged, lavender bags in total like this, although only one, made from the placket on the inside back of the jacket, is free from piecing-together seams, The others all needed some strategic joining together - see 2 above.

4 For each finished lavender bag, place four hearts together with the right side of the top and the bottom heart facing outwards. Pin together.


5 Cut a small piece of ribbon - about 15cm / 6" long - and fold in half lengthways. Insert the raw edges about 2cm / .75" below the edge into the central dip of the heart and pin in place to secure.

6 Using a matching sewing thread, machine stitch all round the heart about .75 cm / a quarter of an inch in from the edge, leaving a gap of approximately 2 cm / .75" on one of the long sides so that you can fill the heart with lavender. Yes, I do mean stitch on the outside with the seam allowances showing! The red-headed pins mark my filling gap in the pics above and below.


7 Fill the heart with dried lavender using a funnel and a spoon to help you. Make sure you spoon the lavender into the centre of the heart ie between the two innermost layers of fabric, leaving two layers on the outside, on both sides, as you can see in the pic below where my scissors are holding open the gap.


 A container is helpful to catch the lavender you will inevitably spill. I rather foolishly decided to do the filling, while sitting up in bed. Let's just say that finding grains of dried lavender in your sheets may smell wonderful but isn't exactly comfortable! If you have dried lavender from the garden, use that, or alternatively you can buy it, by the bagful, from suppliers such as this one. It's expensive if you buy a big bag but remember dried lavender does not weigh much in relation to its volume and you won't need more than around 10g / 0.5oz for each of these.

8 Don't overfill the heart, or it will make it difficult to stitch up the gap. Also, I think a little looseness is nice in lavender bags. Once you have filled the heart adequately, pin the gap shut, to avoid losing any precious florets, and stitch the gap closed, joining up the two ends of the seam left previously. If you've overfilled the heart with lavender, you may not be able to lower the presser foot on your machine properly to stitch the gap closed. Either remove some of the lavender to give yourself a bit more room or alternatively, if you prefer the heart to be more plumply filled, you could switch your foot to a zipper foot to enable you to sew easily.


Neatly tie off the threads and snip the ends so that it looks tidy.

9 Now take a pair of pinking shears and carefully trim the edge of the seam allowance which is left on the outside to give a nice zigzag edge. Be extra careful around the dip of the heart where the hanging ribbon is attached, as you don't want to cut the ribbon by mistake.


10 Hang your heart from a clothes-hanger or place in a drawer and enjoy.


The multiple layers of brushed cotton fabric make these hearts beautifully soft and tactile.


 As well as giving them a nice fluffy edge.


You can obviously make these with brand new fabric but I think you can't beat the softness of something much-laundered and worn. If you don't wear brushed-cotton pyjamas, mens' casual shirts are sometimes made from brushed cotton so a worn out, old one of these would be an alternative hunting ground, although it probably won't have pretty, rosy sprigs on it! But you could always prettify a manly tartan check with some embroidery, or a decorative button or two.


I am wondering what other things one might make with brushed cotton. Other than polishing rags, of course. I see you can make a very attractive rag quilt using brushed cotton squares but I don't have enough fabric for that. Shoe bags are another possibility and it's good for baby accessories.  Any other suggestions? Do let me know if you have any bright ideas - I have quite a lot of pyjama fabric still to play with!

Thank you for still being there, if you're reading this. I wish you a happy 2017 and hope to be back here again soon.

E x